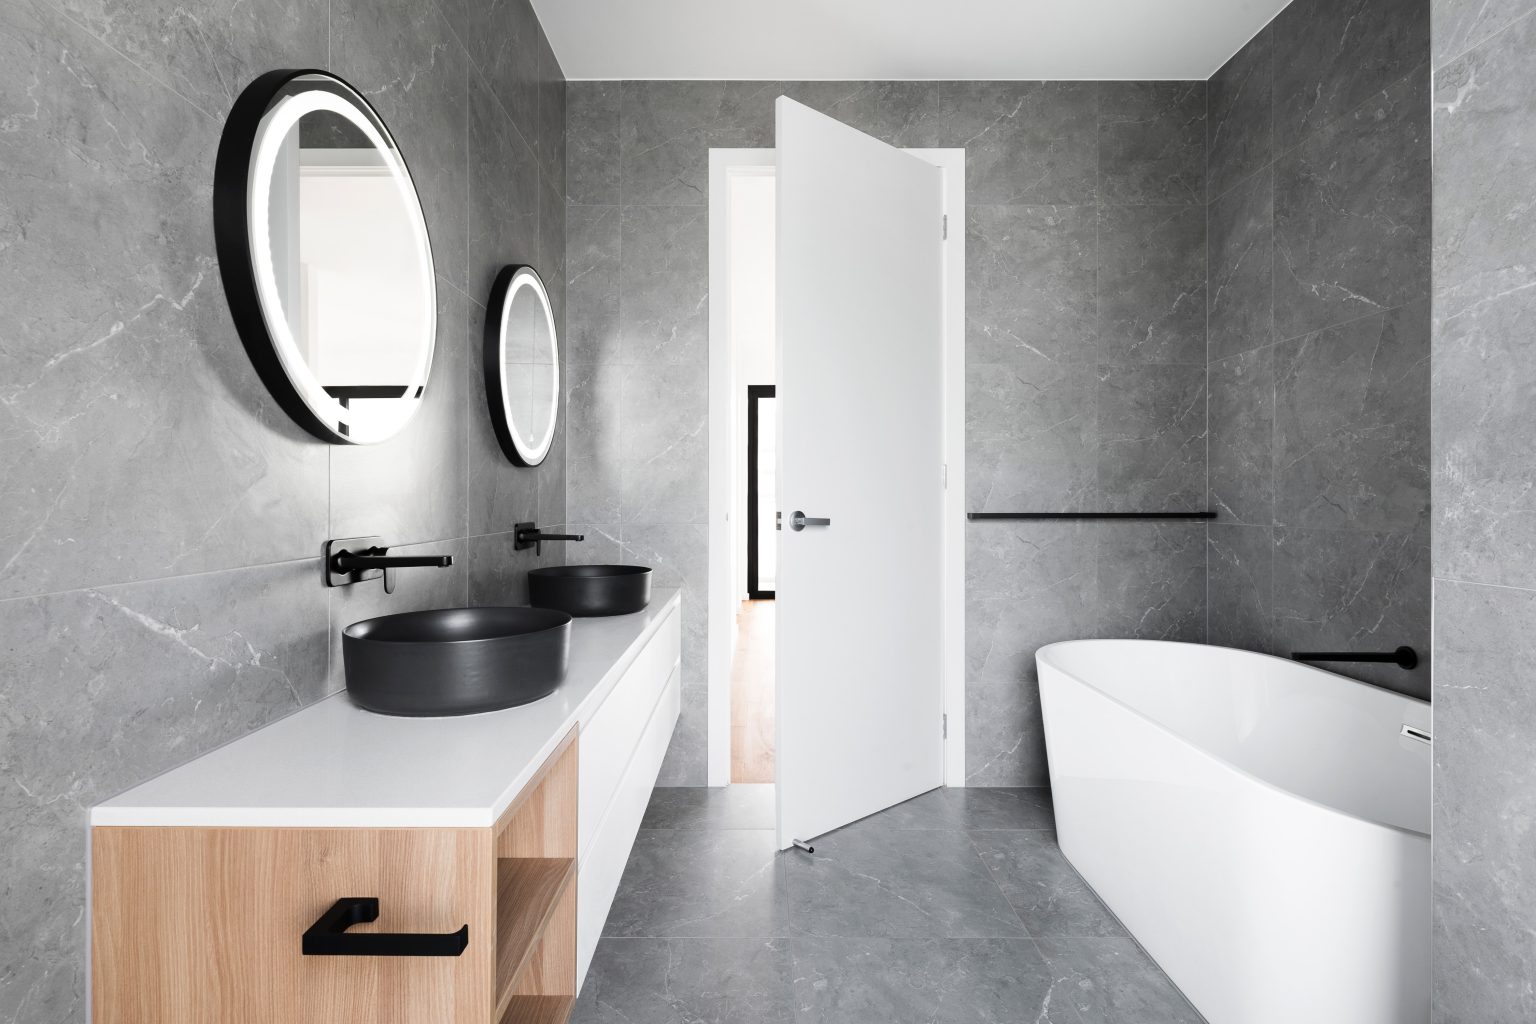
A functional and aesthetically pleasing bathroom is the key to your best shower experience. When it comes to the longevity and functionality of your bathroom fixtures, maintaining a clean and well-sealed bathroom is essential. You might have noticed that the shower area in your bathroom is the most vulnerable area which usually needs replacement of the caulk. Caulk can deteriorate over time, leading to water leakage and mold growth. To address this concern, we have compiled a comprehensive DIY guide, where you can learn the process of caulk replacement for your shower area. We will walk through the caulk replacement for shower baths, trays, and enclosures in detail. Additionally, we will highlight the high-quality bathroom fixtures available in the UK market, ensuring a seamless renovation experience.
Caulk Replacement for a Shower Bath:
The deteriorated caulk around your shower bath can be a toll on your bathing experience. If you have a straight, L, or P-shaped shower bath installed in your bathroom and need caulk replacement then, worry no more. You can always ensure a watertight seal and maintain the original condition of your shower bath by simply following these caulk replacement steps.
Step 1: Gather the necessary tools and materials, including a caulk gun, a caulk removal tool, a cleaning solution, new caulk, and a damp cloth.
Step 2: Begin by removing the old caulk using the caulk removal tool. Be cautious not to damage the surface of the shower bath.
Step 3: Thoroughly clean the area using a cleaning solution to remove any residue and ensure proper adhesion of the new caulk.
Step 4: Apply the new caulk using a caulk gun, starting from one end, and moving steadily along the joint. Maintain a consistent and even flow of caulk.
Step 5: Smooth the caulk with your finger or a caulk smoothing tool to create a neat finish. Wipe away any excess caulk with a damp cloth.
Caulk Replacement of Shower Trays and Enclosures:
The shower trays and enclosures in your bathroom are more prone to caulk deterioration because of water exposure, cleaning products, and general wear and tear. You can maintain a proper seal and prevent the water from damaging the bathroom walls, floors, and adjacent areas by replacing the caulk. For a sleek and contemporary shower experience, rectangle shower trays, and enclosures are preferably installed in bathrooms. If you are looking to replace caulk for your shower trays and enclosures, then these simple DIY steps will help you fix the fixtures.
Step 1: Assemble the required tools and materials, including a caulk gun, a caulk removal tool, a cleaning solution, new caulk, and a damp cloth.
Step 2: Carefully remove the old caulk using the caulk removal tool. Take care not to damage the shower tray or enclosure surface.
Step 3: Thoroughly clean the area using a cleaning solution to remove any dirt or debris. This step ensures proper adhesion of the new caulk.
Step 4: Load the new caulk into the caulk gun and apply it along the joint between the shower tray and enclosure. Maintain a steady and even flow of caulk.
Step 5: Use your finger or a caulk smoothing tool to smooth the caulk, ensuring a professional-looking finish. Any excess caulk can be wiped away with a damp cloth.
What is it like to have High-Quality Bathroom Fixtures?
If you’re considering a bathroom renovation, it’s essential to choose high-quality fixtures from reputable UK suppliers. One such trusted brand is Royal Bathrooms, known for its premium bathroom fixtures, including shower baths, trays, and enclosures. With a diverse selection of stylish and durable options, they offer the perfect solutions to match your design preferences.
Their bathroom fixtures offer a luxurious showering experience while meeting your bathing requirements. With their durable and high-end designs, you can expect top-notch materials that stand the test of time. For an invigorating shower solution, consider their meticulously crafted rectangle shower trays and enclosures. These visually appealing fixtures are engineered for exceptional durability and water resistance.
Bringing it all together:
In closing, the process of caulk replacement may seem daunting, but with the right knowledge and tools, it becomes a straightforward DIY task. By prioritising the maintenance of your bathroom, you can enjoy a well-sealed, mold-free, and visually appealing space. Take the necessary steps to protect your shower area and create a bathroom that you can be proud of.
In addition to proper caulk replacement, it is equally important to choose high-quality bathroom
fixtures that can withstand the demands of everyday use. Choosing trusted suppliers helps you with
a wide range of premium fixtures designed to provide longevity and resistance to damage. By taking proactive measures and investing in top-notch products, you can create a bathroom that exudes both style and functionality.

