How to Make Your School Project Stand Out Using a Timeline Creator
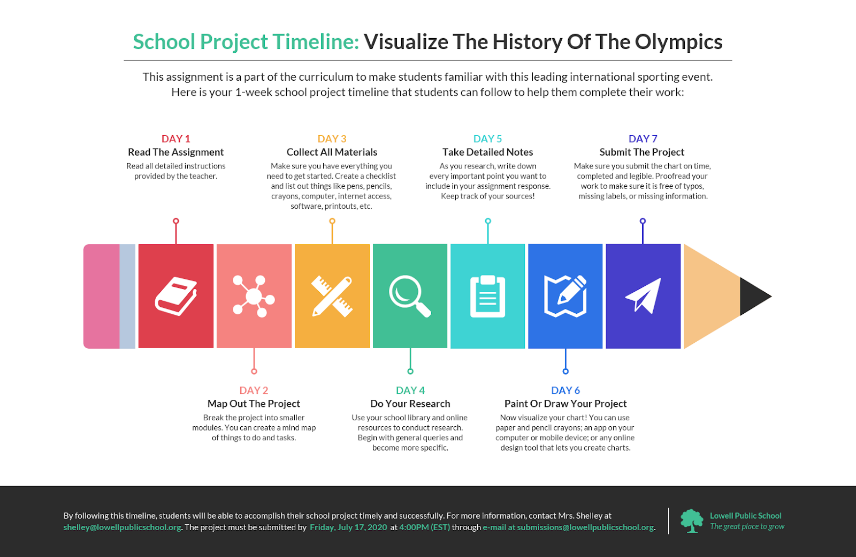
History projects can be dry and dull, but they don’t have to be! If you want to add an extra level of polish to your school project, use a timeline creator.
A timeline creator is a tool that helps you visualize historical events in a way that is both engaging and informative. It can also be a great way to organize your thoughts and professionally display your work. Using a timeline maker, you can easily add visuals and linearity to your project, making it more engaging for the viewer.
There are many different timeline creators available online, so finding one that’s right for you is a matter of personal preference. Some things you may want to consider when choosing a timeline creator include ease of use, features, and cost.
Let’s examine how you can make your school project stand out by using a free timeline maker.
-
What is Your Project’s Goal
Before you start creating your timeline, think about the overall goal of your project. What are you trying to achieve? Your timeline should support this goal.
Create a Thesis Statement:
It’s important to have a clear idea of your project. A thesis statement can help you accomplish this. Your thesis statement should be one or two sentences that summarize your project’s main argument or point.
Once you have a thesis statement, you can use it as a guide to help you determine which events or aspects of your topic are most important and need to be included in your timeline.
-
Know Your Audience
The next thing you need to consider is your audience. Who will be viewing your project? What kind of information will they be looking for? Keep this in mind as you choose what details to include in your timeline.
-
Do Some Research and Gather Relevant Data
Once you have a general idea of what you want your timeline to look like, it’s time to do some research. First, consult your teacher or professor to see if there are any specific resources they would recommend you use. Then, take some time to explore online databases, library resources, and primary sources.
As you’re doing your research, take notes and save any relevant information so you can easily find it when it comes time to start creating your timeline.
-
Start Creating Your Timeline
Now that you have done some research and have an idea of what events or aspects of your topic are most important, you can start creating your timeline.
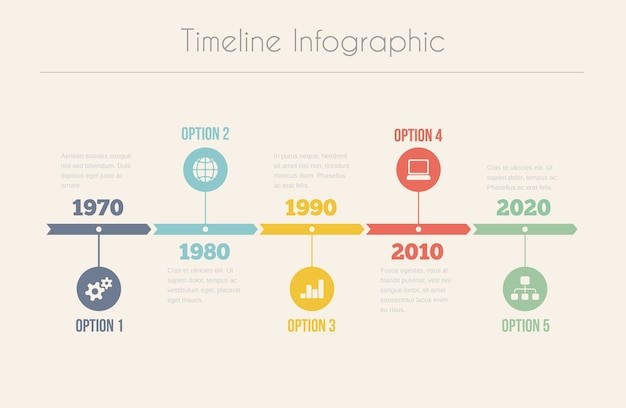
Plenty of free timeline templates and examples are available online if you’re unsure how to get started. To further narrow your research, you can check Venngage – they have a library of timeline creator for students, and many are free to use!
Find a timeline template that suits your needs and start filling in the information from your research. Most timeline creators will allow you to input data in text, images, videos, or all three.
Be sure to include citations for the sources you used so that anyone who views your timeline knows where the information came from.
Organizing Your Data
Once your data is inputted, it’s time to start arranging it in a way that makes sense. That is where the timeline creator comes in handy; it allows you to see your data laid out in chronological order to identify patterns and relationships easily.
Data Analysis and Interpretation
After having your data arranged in a way that makes sense, you may now add your analysis and interpretation, which is what will make your project truly stand out.
By providing your insights and analysis of historical events, you are showing your instructors that you are engaged with the material and capable of critical thinking.
Don’t Forget the Visual Element

A timeline should be easy on the eyes, so be sure to choose a template that is clean and easy to read. Adding images, charts, and other visuals can also help break up the text and make your project more interesting to look at.
Final Thoughts
Timelines are a great way to present information in a coherent and easy-to-follow manner. Using an online timeline maker, you can easily add visuals and linearity to your project, making it more engaging for the viewer.
Creating a school project that will impress your teacher and everyone who sees it doesn’t have to be difficult with the help of a timeline creator! It will help you organize information and present it attractively and show that you’ve put in the extra effort to make your project truly shine.
So next time you’re working on a school project, keep these tips in mind and consider using a timeline creator–especially one from Venngage!

