How to Make your own DIY Photo Booth for Lockdown

When it comes to keeping yourself and your kids entertained during lockdown, there often isn’t that much that one can do. When restricted to the confines of your own home, it’s important to get creative. That’s why photo booths are a great way to keep your own household entertained, and to take shots that you can look back on in the future.
The price of the photo booth depends on a number of factors. For example, the company that you use and the type of booth you are hiring. Most options would range between £300-£700. For that price you would normally receive 3-4 hours with instant print-outs and a digital USB to enjoy all of the memories.
But with this article, we are going to show you how to get the same experience at just a fraction of the price, by making use of common house hold items, and a little bit of imagination.
I will be explaining all the of the equipment needed and how to setup the best DIY photo booth ready for you to use straight away!
1.Finding the Appropriate Space for your photo booth setup

When it comes to spacing out your photo booth, there are a number of factors that you need to take into consideration. For example, what kind of backdrop do you want? How many people do you want in the photo? Do you want your photo booth to be inside or outside? Before planning out, take some time to think through these questions to make sure that you can make the photo booth set up as smooth as possible.
A good rule of thumb for the set-up is to ensure that the distance between the subject and the camera is the equivalent distance of the tallest person’s height. There is no need to measure it out as a rough estimate should suffice. This enables you to have everyone within the photo. You can also change the distance if there happens to be something in the backdrop a little bit further away.
- Creating your own unique backdrop for the photo booth.

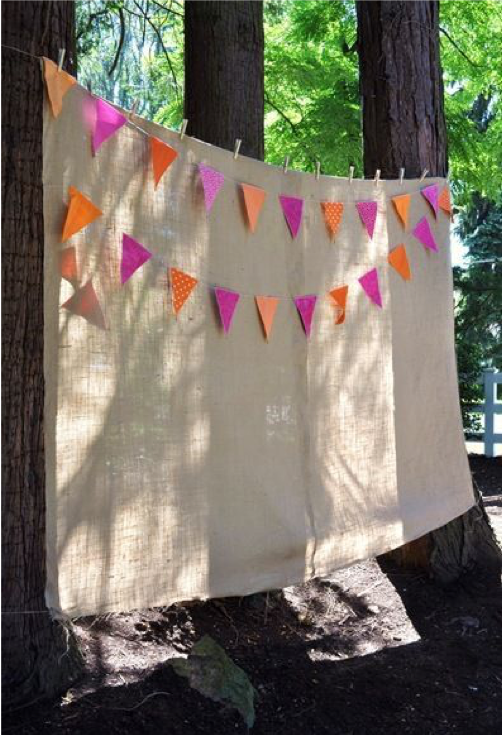
This stage is your chance to get creative; the more effort you put into this part the better the pictures are going to come out. Also, this part is great to get the kids involved in, as they can create something that is personal to them in the photo – this could be anything from their teddy bears to favorite nightlights.
From my own experience in photo booths in the entertainment industry, I have seen it all. Everything from swings that light up with fairy lights, all the way to full foliage backgrounds with custom neon signs. The possibilities are truly endless, so feel free to go crazy with it!
When it comes to the background, there are a number of things that you should take into account. You need to make sure that there is a sufficient amount of space for the people in front. Also, try not to make the background too busy, as this can create problems when it comes to focussing the camera lenses.
3.Deciding on a camera for your photo booth
Every photo booth needs a camera and there are a number of options that can give you various effects on your snaps.
- For a vintage look, a polaroid camera can be a classic option with a modern twist. In fact, this is actually one of the easiest choices to use as it prints straight away after taking the photo – Just bear in mind the prints are quite expensive so this can get quite costly if you plan on taking a few photos. The Instax Mini 9 Polaroid Camera with 10 shots is currently £64.99 and extra shots come in packs of 20 for £14.99.
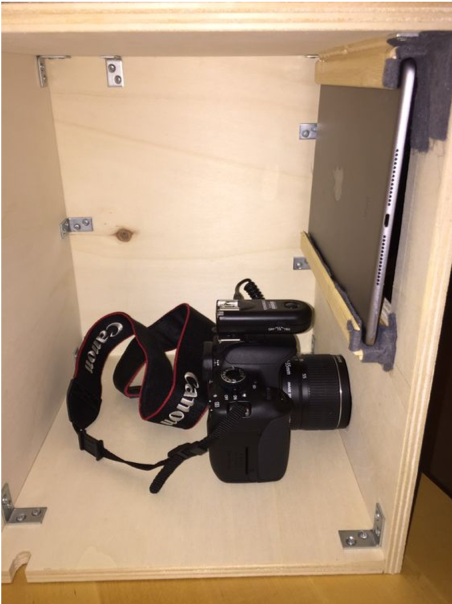
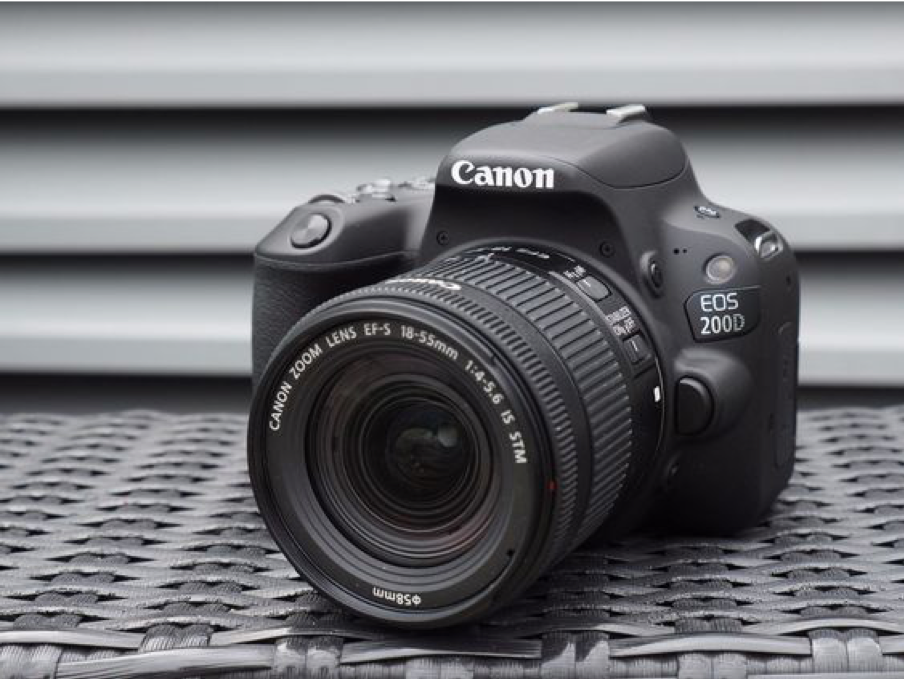
- A DSLR Camera is a great choice for a more crisp, professional shot. This is what 99% of photo booths have installed in their equipment. However, you will need a tripod or some other way of keeping the camera at eye level. This will enable you to get a more centred shot on your Photo booth. Then, you will need a remote to set off the camera when everyone is in position – Note that some of the modern DSLR’s have an app that you can download which can be used as a remote also. Additionally, with DSLR’s you will need to frequently check the camera settings to make sure you have the right setup for the lighting environment. We would recommend that in darker areas, if you can, set up some sort of ring light or lamp to make sure the people in the picture are well lit during the photo shoot.
- Alternatively, you can use your phone in this situation as most camera phones these days have the same quality as professional camera equipment, as in the previous choice you will need a way of sitting the phone in the right position for the shot – we recommend to use a selfie stick in these situations as they are usually only £10 and can generate quite quirky angles for your snaps. Also note that there are various apps that you can download on your phone that will arrange your snaps in a printable format.
- Creating some amazing photo booth props to use

Now this is another stage where you can get the kids involved. Creating some wacky and creative props for your photo booth is surely a must-have for any photo booth experience.
Now this doesn’t always mean handheld props. This can mean old armchairs that you left in the garage that you can decorate to look a little ‘funky’ just for the photo booth, because the possibilities are truly endless here.
(A little tip – most of the props you see in pictures can be replicated with just a few colouring pens, A sheet of a4 and a cocktail stick so go crazy!)
If you don’t quite fancy making your own props, you can always get a set of them on Amazon for £11.99, these will do just the trick for any photo booth and usually allow for next day delivery!
- Adding some lighting to your photo booth

Adding a little bit of nice lighting to your backdrop and the surrounding areas can really give a unique look to your DIY photo booth. Just some household candles and fairy lights can bring any photo booth set to life!
If you happen to have an old neon sign laying around, this can really give a stunning colourful look to your photo booth set!
Just remember that you should still have some sort of directional light near your camera. This helps keeps the people in the picture lit up, which always improves the quality of the photo.
6.Keeping your photo booth snaps!

This is a must-have if you are planning on creating the DIY photo booth. Sometimes just having something physical to keep is much more sentimental and will be something nice to remember this lockdown period.
Most guestbooks can just be purchased online. If you would rather hold out and make sure that you get the exact book you want, then you could select one online. Try to get hold of some metallic paint pens to write comments next to your photos to give them that extra special touch.
If you chose to use the DSLR or Phone camera choice you will need to upload these to a computer and send them off to a printing service online. Bear in mind that a lot of these are still running during lockdown. There are also some printing stations in the supermarkets which will print a 6×4” print for 10p.
Once you have stuck them all into your book, you can keep this book forever. It will remind you of the amazing 4 months or so that you all spent together in the house!
There you have the complete guide on creating a photo booth during lockdown. I hope it has been useful to you, and wish you the best of fun when creating your own lockdown photo booth with family.
Written by Trez Entertainment


 Credit: Pinterest